
Patterns & Troubleshooting · Beginner guide
How to Finish a Crochet Project Neatly
Finish crochet by securing the last loop, weaving in tails, and checking seams and edges against the pattern.
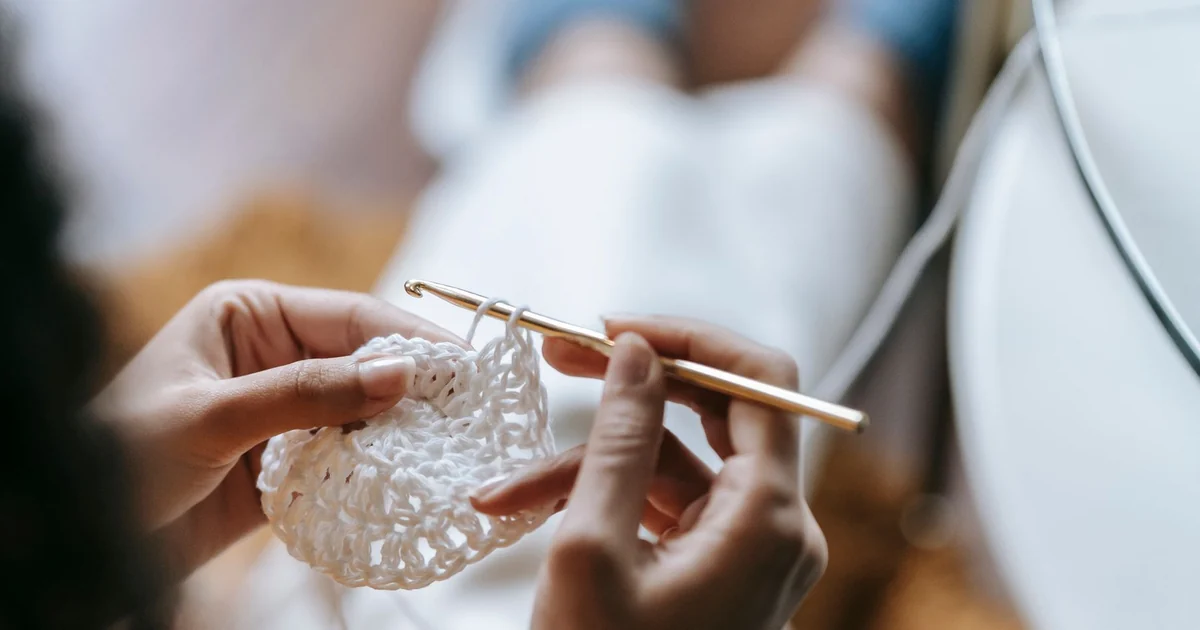
Finishing is more than cutting yarn. A secure tail, careful assembly, and final check help the item hold its intended shape; the method depends on fiber and use.
Before you begin
Keep a yarn needle, scissors, and assembly notes nearby. Check care instructions before washing or blocking.
Step-by-step instructions
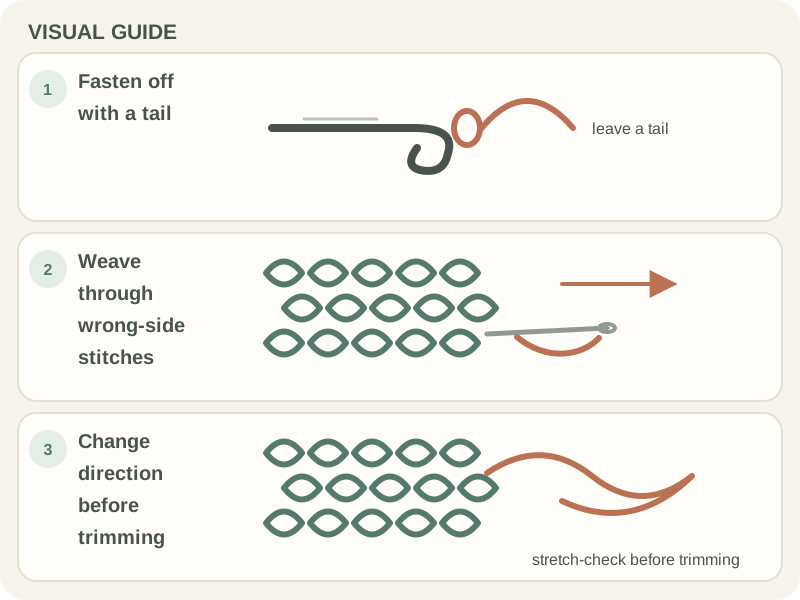
- Complete the final stitch and fasten off as directed, leaving enough tail for the finish.
- Weave the tail through the backs of several stitches, changing direction without tightening the fabric.
- Assemble pieces at the stated points and compare both sides before securing the seam. Mark edges to align if needed.
- Inspect for loose ends, missed joins, and uneven edges before trimming tails close.
What to check
A final pass prevents avoidable snags
The seam should lie flat and retain stretch. A hard knot or tight tail makes a bump. Use a pattern-specific finish when one is given.
Frequently asked questions
Can I cut the tail after fastening off?
Leave enough length for finishing. Trim only after weaving it in and checking that it is secure.
Should I wash a project before gifting?
Follow the yarn care label and recipient’s needs. Washing is not required for every project and may affect some fibers.
Secure the final loop as instructed
For finishing a crochet project, use this as the starting rule: secure tails, assemble pieces in the order the pattern specifies, and check the finished edges. The fiber care label and the pattern’s assembly directions guide the finishing method. Read the relevant instructions before beginning and keep them nearby as you work. If a general tutorial and the pattern give different directions, follow the pattern’s stated convention; another project may use a different method.
Weave in tails without puckering
Before proceeding, confirm whether seams, fasteners, or care steps are part of the design. Write any project-specific choice in your notes so you can apply it consistently. If the pattern or label leaves the detail unclear, look for its own key or maker guidance rather than assuming that another project follows the same convention. This short check can prevent a small misunderstanding from affecting the rest of the work.
Assemble pieces in the right order
A practical way to apply finishing a crochet project: Before calling the piece finished, lay out pieces and compare their orientation before joining. Lay out the parts in the order shown by the pattern and check their orientation before joining them. Inspect both sides and handle the fabric as it will be used. If a seam pulls or feels bulky, adjust it before trimming the tail.
Inspect both sides of the work
A common mistake in finishing a crochet project is trimming ends too soon or assembling pieces in the wrong direction. Watch for this sign: a seam twists or an edge looks unfinished. That can distort the fabric or produce a finish the fiber cannot tolerate. Compare the recent work with the pattern and locate the first point where they differ. Correct that detail before continuing; stretching the fabric or adding an unplanned step can hide the cause without fixing it.
Check seams and fasteners
If a seam twists or an edge looks unfinished, first check whether seams, fasteners, or care steps are part of the design. Then compare the fiber care information and the pattern’s finishing order with what you actually have. Change one thing at a time so you can tell whether it addresses the problem. If the instructions and materials match but the result still differs, use the project’s gauge, sizing, substitution, or care notes as relevant; those are more useful than a universal fix.
Trim ends only after inspection
Remember: a final review protects the shape and intended construction. Finishing methods depend on fiber and construction; the care label and pattern directions should guide the choice. If you choose an alternative, record it and compare a small sample or written step before applying the change across the project.
Complete the project with a neat finish
To make finishing a crochet project easier to repeat, use this sequence: lay out pieces and compare their orientation before joining, inspect the result, and only then continue. At first, slow down at the point where the pattern changes direction, begins a new round, or starts a repeat. A removable marker or brief row note can hold your place while you learn the construction. Once the sequence is clear, you can work more steadily without guessing which loop or instruction comes next.
Conclusion: Finishing a crochet project
Keep this lesson in mind: a final review protects the shape and intended construction. Use the yarn care guidance when you complete and maintain the piece. Complete any assembly and inspect the front and back before cutting tails close to the fabric. Keep enough yarn to redo a join if needed.