
Patterns & Troubleshooting · Beginner guide
How to Find the First Stitch in a Crochet Row
Find a row’s first stitch beneath or beside the turning chain, according to the pattern’s edge rule.
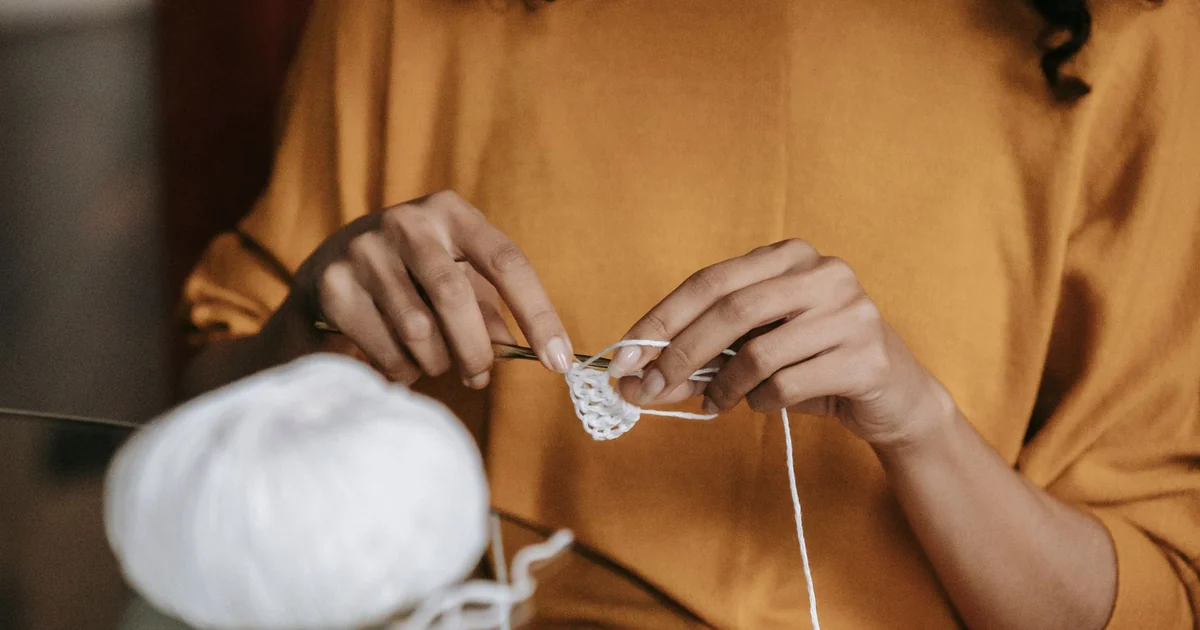
The first stitch can hide beneath the turning chain or blend into the edge. Skipping it repeatedly can make a rectangle narrower.
Before you begin
Check whether the turning chain counts. A stitch marker in the edge stitch can make the next turn easier.
Step-by-step instructions
- After turning, identify the turning chain and the first completed stitch beside it; do not assume the chain is the first stitch.
- Look for the top V of the edge stitch and separate strands gently with the hook tip if needed.
- Work into the location the pattern requires and mark it if it remains hard to see.
- At the other edge, check whether the final stitch belongs in the turning chain or last top V.
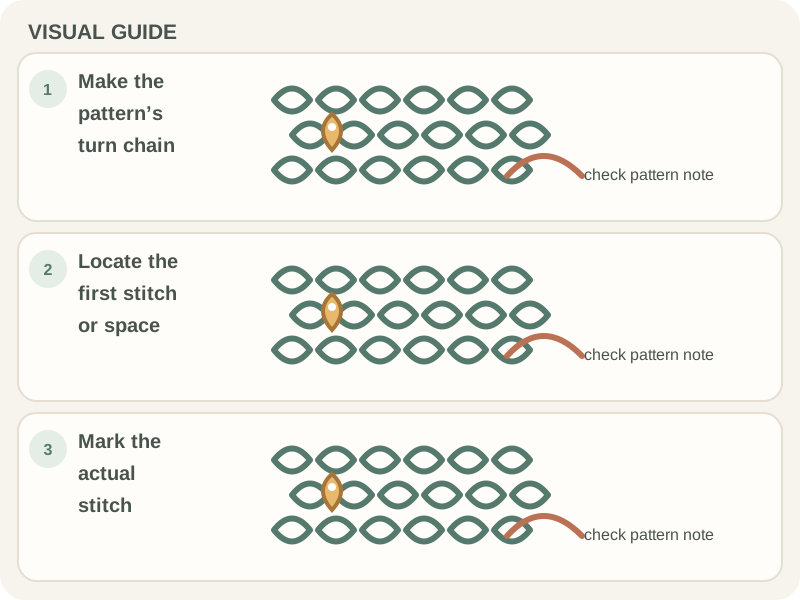
What to check
Look for the top V
Count after a few passes. If the count drops by one each row, inspect the first stitch; if it grows, check whether the turning chain is counted twice.
Frequently asked questions
Is the turning chain the first stitch?
Sometimes it counts and sometimes it does not. Use the pattern’s explicit rule.
Can I use a marker every row?
Yes. Marking the edge stitch can help until you recognize it easily.
Locate the edge after turning
For finding the first stitch in a row, use this as the starting rule: turn the work as instructed, locate the edge stitch top, and distinguish it from the turning chain. The publisher’s key and terminology tell you how to read that specific set of instructions. Read the relevant instructions before beginning and keep them nearby as you work. If a general tutorial and the pattern give different directions, follow the pattern’s stated convention; another project may use a different method.
Separate the turning chain from the stitch
Before proceeding, confirm whether the turning chain counts as a stitch in this pattern. Write any project-specific choice in your notes so you can apply it consistently. If the pattern or label leaves the detail unclear, look for its own key or maker guidance rather than assuming that another project follows the same convention. This short check can prevent a small misunderstanding from affecting the rest of the work.
Find the first true stitch top
A practical way to apply finding the first stitch in a row: Take one short instruction from a pattern and place a marker in the first true stitch for the next row. Mark the line, chart row, or repeat where you stopped, then check that the next step follows from the key and count. Working through a small section on paper or in a swatch can expose unfamiliar notation before it affects a larger part of the project.
Use a marker while learning
A common mistake in finding the first stitch in a row is working into or skipping the turning chain without checking the rule. Watch for this sign: the edge count changes from row to row. That can shift the stitch, repeat, or chart symbol and alter the instruction sequence. Compare the recent work with the pattern and locate the first point where they differ. Correct that detail before continuing; stretching the fabric or adding an unplanned step can hide the cause without fixing it.
Check the pattern’s edge rule
If the edge count changes from row to row, first check whether the turning chain counts as a stitch in this pattern. Then compare the terminology, key, repeat marks, and row or round count with what you actually have. Change one thing at a time so you can tell whether it addresses the problem. If the instructions and materials match but the result still differs, use the project’s gauge, sizing, substitution, or care notes as relevant; those are more useful than a universal fix.
Avoid counting the active loop
Remember: the correct first stitch is defined by the pattern’s convention. A publisher’s notation is specific to its pattern, so write down the terminology and symbols you have confirmed. If you choose an alternative, record it and compare a small sample or written step before applying the change across the project.
Begin the row in the right place
To make finding the first stitch in a row easier to repeat, use this sequence: place a marker in the first true stitch for the next row, inspect the result, and only then continue. At first, slow down at the point where the pattern changes direction, begins a new round, or starts a repeat. A removable marker or brief row note can hold your place while you learn the construction. Once the sequence is clear, you can work more steadily without guessing which loop or instruction comes next.
Conclusion: Finding the first stitch in a row
Keep this lesson in mind: the correct first stitch is defined by the pattern’s convention. Keep the verified key and terminology beside the instructions. The turning chain and first stitch are separate unless the pattern says otherwise. Mark the first actual stitch to keep the edge count steady.